How to Beat the Unblinking Blasphemy (Flying Golem Boss)
Unblinking Blasphemy boss guide: the flying golem guarding Greifberg Castle. How to ground it and clear the way to Brencis.
The first thing that tries to kill you inside Greifberg Castle is not Brencis. It is not a blood guard. It is a flying golem that drops on you the moment you clear the castle walls — before you have oriented, before you have mapped the arena, before you are ready for a boss fight at all.
That is the Unblinking Blasphemy. And there are two of them.
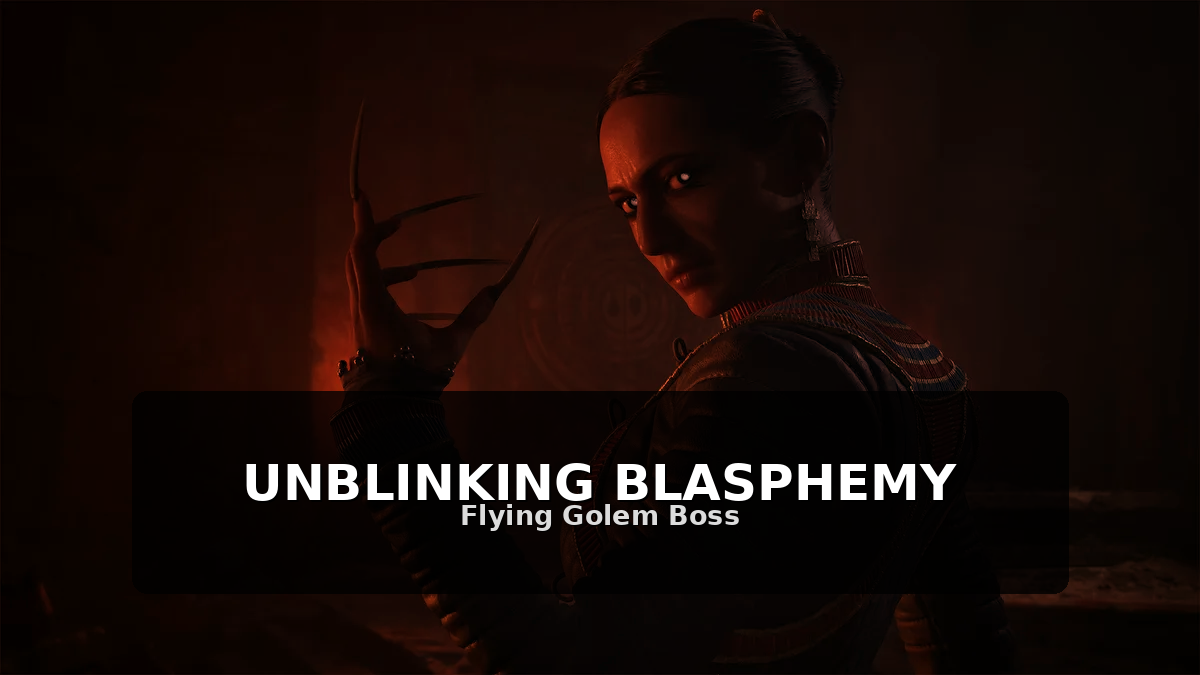
Where You Fight It
Courtyard encounter: The moment you enter Greifberg Castle — whether early, rushing the campaign, or at the natural endgame — the Unblinking Blasphemy drops into the courtyard. This is unavoidable. You cannot sneak past it. The gate behind you locks.
Dungeon encounter: A second Unblinking Blasphemy waits in the castle dungeons, deeper in. Same enemy, tighter arena.
Both encounters are mandatory if you enter Greifberg. The endgame guide explains why clearing the three Boyars first saves you from fighting them here too — but nothing saves you from the golems.
What It Actually Does
The Unblinking Blasphemy is a flying boss in a game where most combat is grounded. That changes everything.
Dive attacks — Its primary pattern. It ascends, hovers with a tell, then slams down at your position. The tell is honest: a brief glow before the dive. But the damage is heavy, and the shockwave on landing has wider range than the model suggests.
Stone projectiles — While airborne, it launches fragments. These are blockable but chip stamina hard. Dodging sideways is cleaner.
Ground slam — When you are close, it slams the ground with both fists. Unblockable. The tell is a raised-arm wind-up lasting roughly a second.
Summon adds — At health thresholds, it calls lesser stone creatures. Not deadly alone, but they interrupt your punish windows on the boss.
The Core Strategy: Ground It
Ranged attacks do almost nothing to the Unblinking Blasphemy while it flies. The fight is built around forcing it to land, then punishing the recovery.
The reliable trigger: perfect dodge its dive attack. When it ascends and glows, dodge at the last moment. The golem crashes into the ground, stays down for 3-4 seconds, and takes increased damage.
If you miss the perfect dodge window, a standard dodge still works — but the golem recovers faster, and you get less punish time.
While grounded:
- Hit the head. It takes full damage. Body hits during grounded phase deal reduced damage.
- Do not overextend. It stands up with a shockwave. When the limbs start trembling, back off.
Arena Control
The courtyard fight gives you space. Use it. Keep the golem in the center, and you circle the edges. When it summons adds, kill the adds first — they respawn, but letting them accumulate turns every dive attack into a gang fight.
The dungeon encounter is tighter. Here, positioning matters more. Keep your back to the wall opposite the golem’s flight path, so dives come at you from one direction only. The adds are less threatening in the smaller space, but the shockwaves are harder to avoid. Plan your dodges around escape routes, not punish windows.
Preparation
- Ranged option is optional. The golem is designed around melee punishes. If you have a strong crossbow or throwing build, it works during the grounded phase only.
- Stamina management. Blocking projectiles drains stamina fast. Prefer dodging. If you must block, ensure stamina is above half before the golem lands — you need the sprint to reach it.
- Healing timing. The safest heal window is immediately after a successful ground punish, when the golem is in its recovery animation. Do not heal while it is airborne; the dive tracks you.
What You Get
Defeating the courtyard Unblinking Blasphemy opens the path into Greifberg proper. The dungeon encounter guards the route to Brencis’s lair — clearing it is mandatory for the final confrontation.
The reward structure is standard boss loot: XP, a skill point, and crafting materials unique to golem-type enemies. The real reward is progress.
The Second Encounter: What’s Different
The dungeon Unblinking Blasphemy is the same enemy with three changes:
- Less flight time. The lower ceiling means it grounds more frequently — but recovers faster.
- Tighter shockwaves. The smaller arena makes the landing shockwave harder to avoid. Jump timing matters more than dodge timing.
- Adds spawn earlier. At 75% health instead of 50%. Clear them immediately or the fight snowballs.
If you handled the courtyard, you can handle this. The mechanics are identical; the pressure is higher.
Frequently Asked Questions
Can you skip the Unblinking Blasphemy? No. Both encounters are mandatory inside Greifberg Castle. The only way to avoid them is to never enter the castle — which means never finishing the game.
Is it harder than the Boyars? No. It is a gear and positioning check, not a mechanical one. Players who struggle with Ambrus’s parry timing or Bakir’s crowd control usually find the Unblinking Blasphemy easier. The challenge is patience.
What element is it weak to? Community testing suggests strike damage outperforms slash against the stone body. If you have a mace or hammer-type weapon, this is the fight to use it.
Does killing it early change anything? The Unblinking Blasphemy respawns if you leave and re-enter Greifberg. Only the kill during your final assault counts permanently. Do not waste resources on early attempts unless you are practicing.
Related Articles
bosses
Bakir Too Hard? How to Make the Lunar Game Easier
Is Bakir too hard in Blood of Dawnwalker? Five difficulty levers: level check, tournament allies, the Cockroach's drink, the riddle answer, and the mask trick.
bosses
Can You Spare Ambrus? Kill, Spare & Drain Compared
Can you spare Ambrus in Blood of Dawnwalker? Every post-duel option compared: the kill trophy, the Scarlet Shield drain reward, and the Anachora choice.
bosses
Can You Spare Bakir? The Drain Path Explained
Can you spare Bakir in Blood of Dawnwalker? Yes - via the drain: Shadowstorm, the Farkas ring questline, and why his soul returning in the Brencis fight is worth it.
Was this helpful?
Thanks for the feedback!