Brencis Phase 3 Strategy: How to Beat Final Form in Blood of Dawnwalker
Brencis phase 3 strategy for The Blood of Dawnwalker: the 30% HP desperation phase, hard enrage timer, ground-slam AOE safe zone, and how to finish the fight.
Brencis phase 3 is where the final boss of The Blood of Dawnwalker stops being a duel and becomes a damage race with a clock. At 30% HP, the Knyaz of Vale Sangora enters desperation mode: faster attack strings, a ground-slam AOE, vampire claws, and — critically — a hard enrage timer that ends the fight if you do not finish him first.
This guide covers the exact mechanics that change at the 30% threshold, the strategies that work when the timer is ticking, and the mistakes that kill most players in the final stretch. For the full fight structure including phase one (100%-60%) and phase two (60%-30%), see the complete Brencis guide. For the Anachora transformation that follows, see Brencis Grotesque Ascendant.
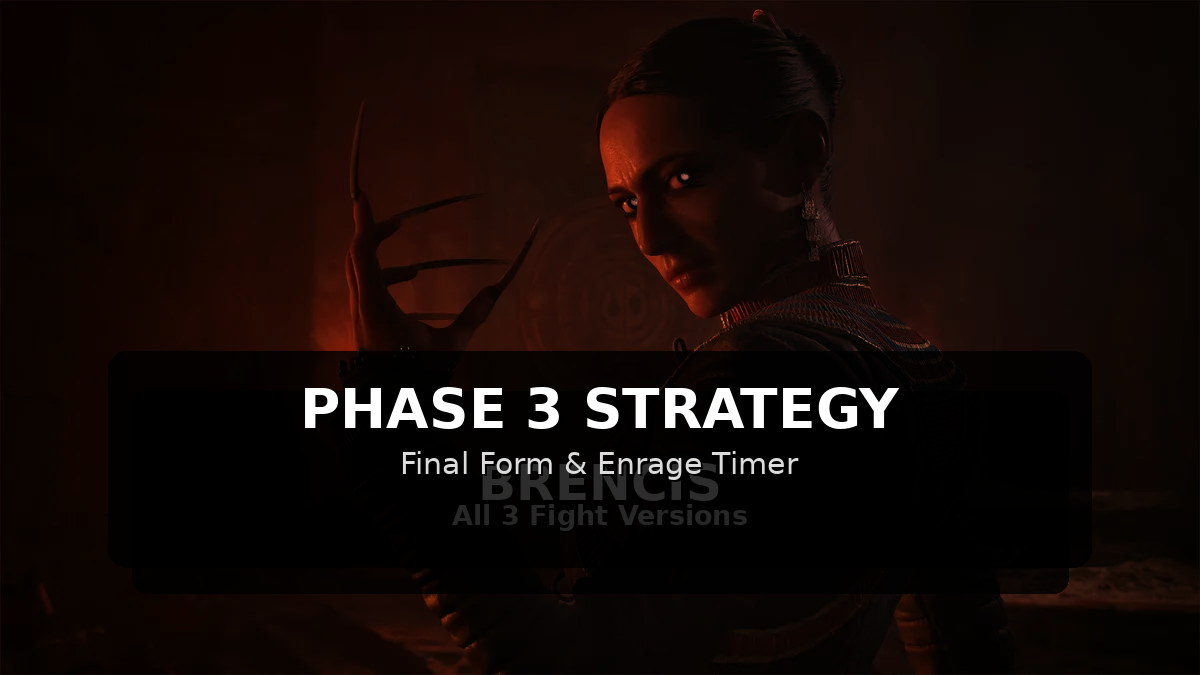
What Changes at 30% HP
Phase three is not a new moveset — it is the same Brencis with everything accelerated and one new mechanic that changes how you must play.
| Mechanic | Phase 1-2 | Phase 3 (30%-0%) |
|---|---|---|
| Attack speed | Standard | ~30% faster |
| Ground-slam AOE | Not present | New attack — telegraphed, but the safe zone is counter-intuitive |
| Vampire claws | Occasional | More frequent, longer strings |
| Enrage timer | None | Hard timer — fight becomes unwinnable if it expires |
| Gold pip generation | Normal | Slower — fewer safe openings to build pips |
The enrage timer is the defining feature. Community testing puts it at roughly 90 seconds from the phase transition, though the exact duration varies slightly by difficulty. When the timer expires, Brencis gains a massive damage boost and his attacks become effectively unreactable. You will know it happened when his model glows red and the music shifts.
The Ground-Slam AOE: Safe Zone at His Feet
The new ground-slam is the attack that kills most players in phase three. Brencis raises both arms, slams the ground, and a red shockwave radiates outward in a ring. The natural instinct is to back away — that is the wrong move.
The safe zone is directly at his feet. The shockwave damages everything in a ring around Brencis but leaves the area immediately adjacent to him untouched. When you see the slam telegraph:
- Move toward him, not away
- Get close enough to touch his model
- Punish with 2-3 hits during the recovery window
- Disengage before his next string starts
This is counter-intuitive but confirmed by community testing. Players who retreat eat the full shockwave; players who close in take zero damage and get free damage.
Strategy: Winning the Damage Race
Phase three is about burst efficiency — every second you spend defending is a second the enrage timer burns. The strategies that work:
Spend Banked Gold Pips Immediately
If you entered phase three with gold pips saved from phases one and two, spend them now. The slower pip generation in phase three means you will not rebuild them. Weapon arts, enhanced dodges, and riposte counters all go here. There is no phase four to save for.
Voracious Bite Sustains Through the Timer
If you are running a Vampirism build, Voracious Bite is the phase three sustain tool. The health return from biting during the phase’s limited openings offsets the chip damage from blocked hits and buys you the extra seconds the timer demands. The bite animation is long, so use it only after a confirmed punish — never mid-string.
Bleed Cleanse Before Three Stacks
If you have a bleed cleanse consumable or ability, use it before the third stack. Phase three’s faster attack strings make it much easier to accumulate bleed stacks quickly. Three stacks is the threshold where the damage becomes unmanageable; two stacks is survivable.
Dodge Sideways, Never Backwards
This rule from phase two applies even harder in phase three. The vampiric sweep tracks retreats, and the backward dodge almost always clips you. Lateral movement near the arena edge is safer than mid-range spacing because it forces Brencis to re-angle before every attack.
Common Mistakes That Kill Runs
| Mistake | Why It Fails | Fix |
|---|---|---|
| Retreating from the ground-slam | The shockwave ring covers retreat distance | Move toward him — the safe zone is at his feet |
| Hoarding gold pips “for later” | There is no later — the timer ends the fight | Spend everything immediately |
| Blocking the vampiric sweep | Unblockable in phase two and three | Dodge sideways on the red telegraph |
| Trading hits | His damage per opening is higher than yours | Dodge first, punish second — never trade |
| Panic-rolling | Phase three strings punish panic rolls | Wait for the full string to end before punishing |
The Solo Version: Harder Phase Three
If you are fighting Brencis solo (The Folk Hero route), phase three is significantly harder. No ally splits aggro, so every attack string targets you. The enrage timer feels shorter because you have fewer safe openings to build damage.
The community consensus: solo phase three is the hardest single combat challenge in The Blood of Dawnwalker. If your build is not optimized for burst damage, consider finishing Lacra’s or Crake’s questline to bring an ally — the ally versions moderate phase three well below the solo route. See the endings guide for how ally availability affects which ending you get.
What Happens After Phase Three
Depleting Brencis’s health bar to zero does not end the encounter. It triggers the transition to Anachora — the vampire hell where Brencis sheds his humanoid form entirely and becomes the Grotesque Ascendant. That is a different fight with different rules, and you start it with a full health reset regardless of how phase three ended.
This means: spend your healing in phase three. Entering Anachora with unused healing items is wasting them.
Frequently Asked Questions
How long is the phase three enrage timer? Community testing puts it at roughly 90 seconds from the 30% HP threshold, though the exact duration varies slightly by difficulty. When it expires, Brencis gains a massive damage boost and the fight becomes effectively unwinnable.
Can you block the ground-slam AOE? No. The shockwave is unblockable. The only way to avoid it is to stand directly at Brencis’s feet — the damage radiates outward in a ring, leaving the area adjacent to him safe.
What is the best build for phase three? Anything with burst damage and sustain. Vampirism builds use Voracious Bite for health return; Swordmastery builds use Charge for stun windows; Witchcraft builds use damage-over-time to keep ticking while defending. The key is having a way to deal damage during the limited safe openings.
Does the health reset work both ways? No. You start the Anachora phase (Grotesque Ascendant) at full health regardless of how phase three ended. This is confirmed by testing and is why spending healing in phase three is correct.
Is phase three harder on Duelist difficulty? Yes, significantly. The attack strings are faster, the enrage timer feels tighter, and the ground-slam recovery window is shorter. Duelist players should treat phase three as the hardest fight in the game and prepare accordingly.
Source: Community testing, AllThingsHow, GameSpot, dawnwalkerdb.com
Related Articles
bosses
Bakir Too Hard? How to Make the Lunar Game Easier
Is Bakir too hard in Blood of Dawnwalker? Five difficulty levers: level check, tournament allies, the Cockroach's drink, the riddle answer, and the mask trick.
bosses
Can You Spare Ambrus? Kill, Spare & Drain Compared
Can you spare Ambrus in Blood of Dawnwalker? Every post-duel option compared: the kill trophy, the Scarlet Shield drain reward, and the Anachora choice.
bosses
Can You Spare Bakir? The Drain Path Explained
Can you spare Bakir in Blood of Dawnwalker? Yes - via the drain: Shadowstorm, the Farkas ring questline, and why his soul returning in the Brencis fight is worth it.
Was this helpful?
Thanks for the feedback!